使用 Ava 作為測試執行器
概述
Ava 是一個 Node.js 的測試執行器,具有簡潔的 API,採用新的語言功能,具有詳細的錯誤輸出和進程隔離。雖然 Ava 主要用於執行單元測試,但可以使用 Nightwatch.js 進行設定,使其作為一個整合的測試框架,用於在所有主要瀏覽器上執行網頁應用程式的自動化端對端測試。
組態設定與範例
步驟 0:安裝 Nightwatch
步驟 1:安裝 Ava
npm i ava --save-dev並確保您已在您的 package.json 檔案中包含以下指令碼,以便執行 ava 測試。
{
 "scripts": {
   "test": "ava"
 }
}
步驟 2:設定 Ava
您可以在 package.json 檔案中設定所有 CLI 選項,或建立一個 ava.config.js 檔案。請依照指南瞭解更多詳細資訊。
{
    "ava": {
        "files": [
            "test/**/*",
            "!test/exclude-files-in-this-directory",
            "!**/exclude-files-with-this-name.*"
        ],
        "match": [
        //	"*oo",
        //	"!foo"
        ],
        "concurrency": 5,
        "failFast": true,
        "failWithoutAssertions": false,
        "environmentVariables": {
            "MY_ENVIRONMENT_VARIABLE": "some value"
        },
        "verbose": true,
        "nodeArguments": [
            "--trace-deprecation",
            "--napi-modules"
        ]
    }
}
步驟 3:針對 Ava 的 Nightwatch 環境設定
您必須建立一個 Nightwatch 環境,使其與 Ava 相容。您需要撰寫一個 _setup-nightwatch-env.js 檔案,並確保它已包含在您的測試檔案中。
const Nightwatch = require('nightwatch');

const createNightwatchClient = function({
  headless = true,
  browserName = undefined,
  silent = true,
  verbose = false,
  output = true,
  env = null,
  parallel = false,
  devtools = false,
  debug = false,
  persistGlobals = true,
  configFile = './nightwatch.conf.js',
  globals = {},
  webdriver = {},
  timeout = null,
  enableGlobalApis = false,
  reporter = null,
  alwaysAsync = true,
  desiredCapabilities = {}
} = {}) {

  const client = Nightwatch.createClient({
    headless,
    browserName,
    reporter,
    env,
    timeout,
    parallel,
    output,
    devtools,
    debug,
    enable_global_apis: enableGlobalApis,
    silent: silent && !verbose,
    always_async_commands: alwaysAsync,
    webdriver,
    persist_globals: persistGlobals,
    config: configFile,
    globals,
    desiredCapabilities
  });

  client.updateCapabilities(desiredCapabilities);

  return client.launchBrowser();
};

module.exports = async (t, run) => {
 global.browser = await createNightwatchClient();
 try {
   await run(t);
 } finally {
   await global.browser.end();
 }
};
Nightwatch 選項
Nightwatch 的預設行為可以透過提供以下任何組態選項進行修改。以下是可用選項及其預設值的清單。
| 名稱 | 類型 | 說明 | 預設 |
|---|---|---|---|
headless |
布林值 | 在無頭模式下執行 Nightwatch(適用於 Firefox、Chrome、Edge) | true |
browserName |
字串 | 要使用的瀏覽器名稱;可用的選項包括:chrome、firefox、edge、safari | none |
baseUrl |
字串 | 當搭配相對網址使用 .navigateTo() 時,要使用的基本網址。在執行元件測試時,需要將其設定為執行 Vite 開發伺服器的網址。 | https://127.0.0.1:3000 |
verbose |
布林值 | 啟用完整的 Nightwatch http 記錄。 | false |
output |
布林值 | 顯示 Nightwatch 輸出 | true |
env |
字串 | 要使用的 Nightwatch 測試環境,來自 nightwatch.conf.js。請在 Nightwatch 文件中瞭解更多關於測試環境的資訊。 | none |
parallel |
布林值 | 在平行執行測試時,將此設定為 true | false |
devtools |
布林值 | 僅限 Chrome:自動開啟 Chrome 開發人員工具 | false |
debug |
布林值 | 僅限元件測試:在呈現元件後暫停測試執行 | false |
autoStartSession |
布林值 | 自動啟動 Nightwatch 工作階段。如果停用此功能,您需要在測試中呼叫 jestNightwatch.launchBrowser()。 | true |
persistGlobals |
布林值 | 在執行之間持續使用相同的全域物件,或讓每個測試都有一個(深度)副本。請在 Nightwatch 文件中瞭解更多關於測試全域變數的資訊。 | true |
configFile |
字串 | 要使用的 Nightwatch 組態檔。預設情況下會自動產生組態檔,但您可以使用此選項來變更。請在 Nightwatch 文件中瞭解更多關於 Nightwatch 組態的資訊。 | ./nightwatch.conf.js |
globals |
物件 | 要在 Nightwatch 中使用的全域變數清單。全域變數可在 browser.globals 上取得。請在 Nightwatch 文件中瞭解更多關於 Nightwatch 測試全域變數的資訊。 | none |
webdriver |
物件 | 要設定 Nightwatch Webdriver 服務的 Webdriver 相關設定清單。請在 Nightwatch 文件中瞭解更多關於 Nightwatch webdriver 設定的資訊。Nightwatch 文件中的 Nightwatch webdriver 設定。 | none |
timeout |
數字 | 設定斷言失敗前,斷言重試的全域逾時。 | 5000 |
enableGlobalApis |
布林值 | Nightwatch 全域 API (element(), expect()) 預設為停用。 | false |
desiredCapabilities |
物件 | 定義目前工作階段的自訂 Selenium 功能。請在 Nightwatch 文件中瞭解更多關於所使用之特定瀏覽器驅動程式的資訊。 | none |
setup() |
函數 | 在 Nightwatch 啟動後執行的額外設定掛鉤。 | none |
teardown() |
函數 | 使用 Nightwatch api 物件執行的額外拆解掛鉤。 | none |
步驟 4:執行範例測試
考慮以下範例測試
const test = require('ava');
const await_nightwatch_browser = require('../../../_setup-nightwatch-env.js');

test('duckduckgo example', await_nightwatch_browser, async function(t) {
 browser
   .navigateTo('https://www.ecosia.org/')
   .waitForElementVisible('body')

 const titleContains = await browser.assert.titleContains('Ecosia');
 t.is(titleContains.passed, true);

 const visible =  await browser.assert.visible('input[type=search]')
 t.is(visible.passed, true);

 t.pass();
});
若要執行測試,您可以使用下列命令
npm test或
npx ava注意:Ava 有不同的命名慣例,因此您應該確認您的測試是否遵循此指南
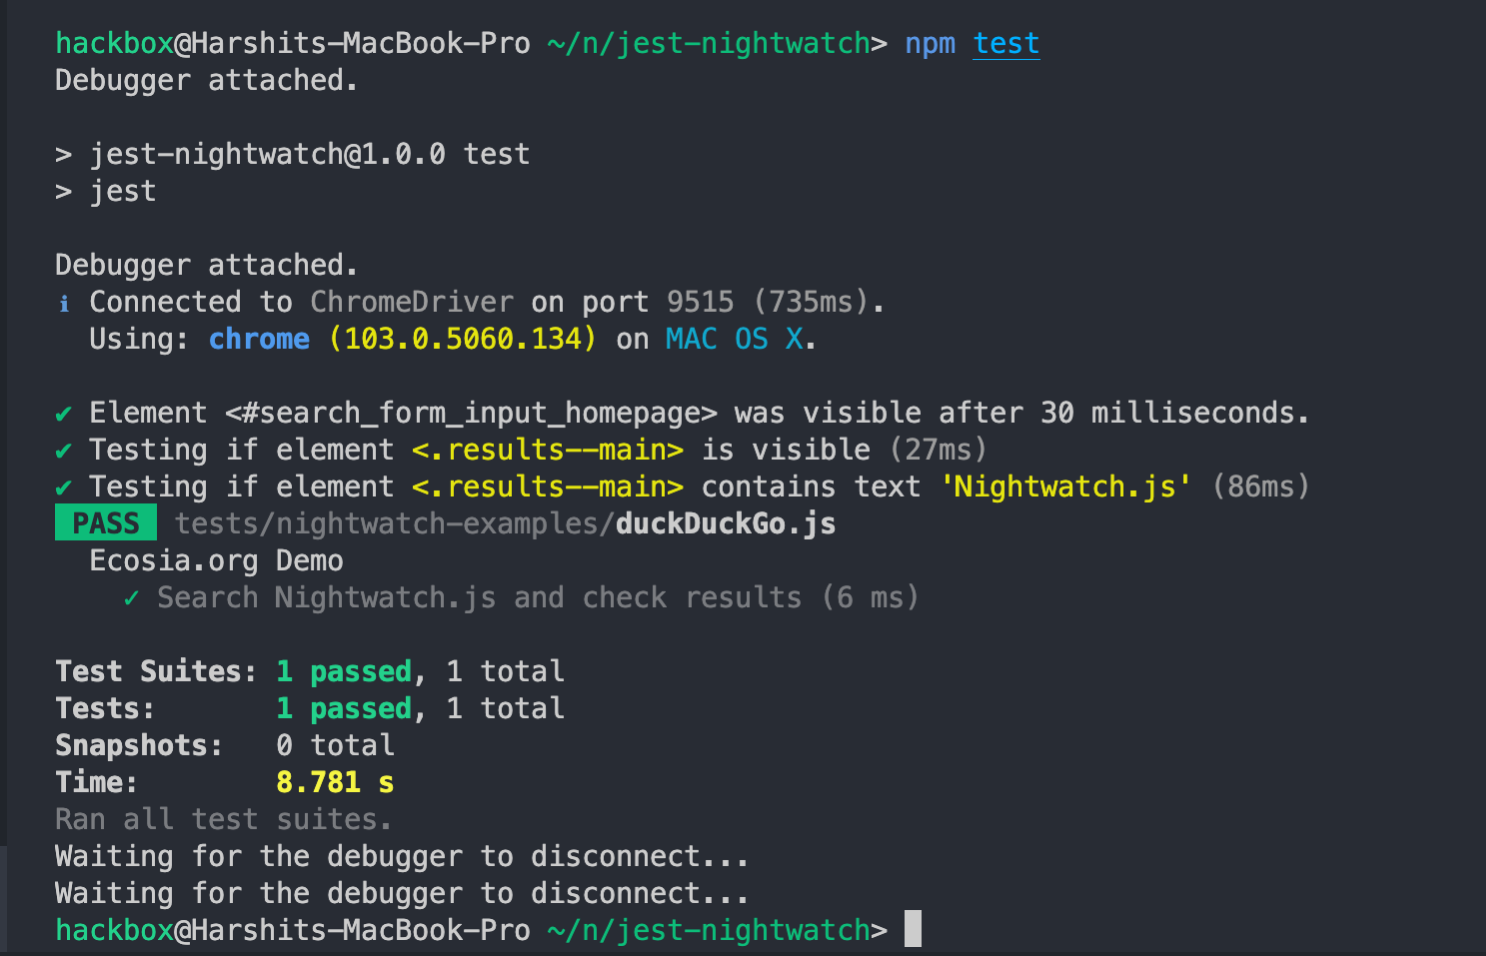
步驟 5:檢視 Ava 測試執行器的結果
相關文章